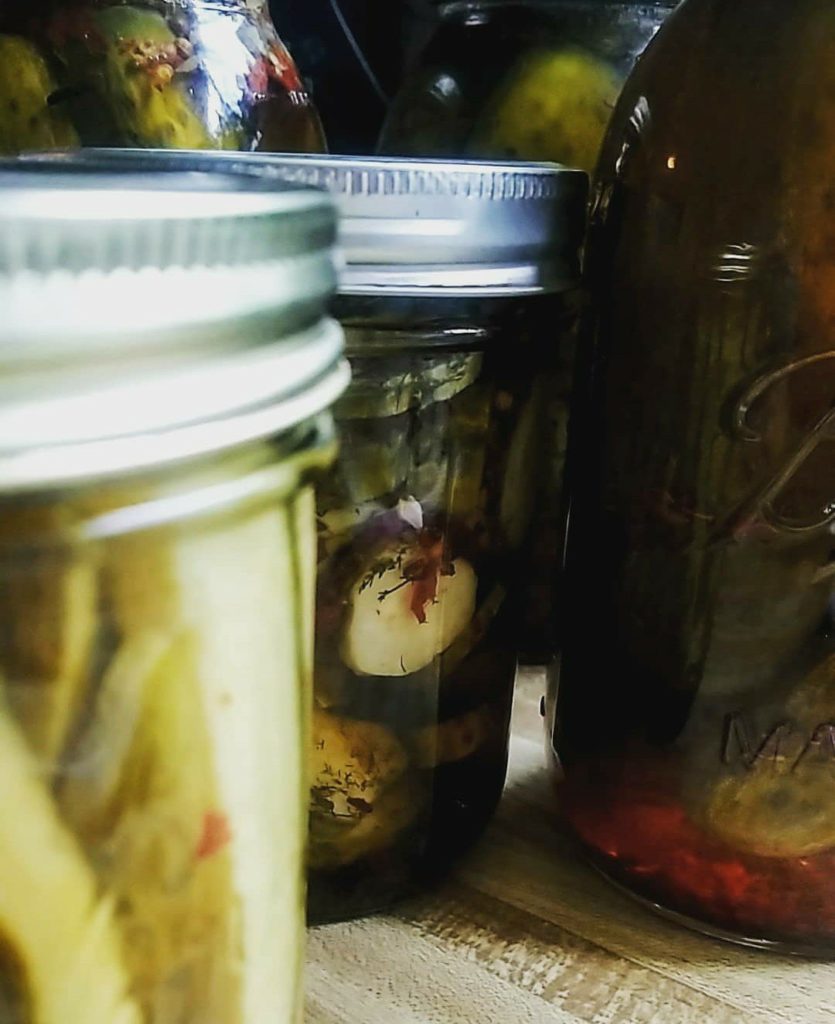
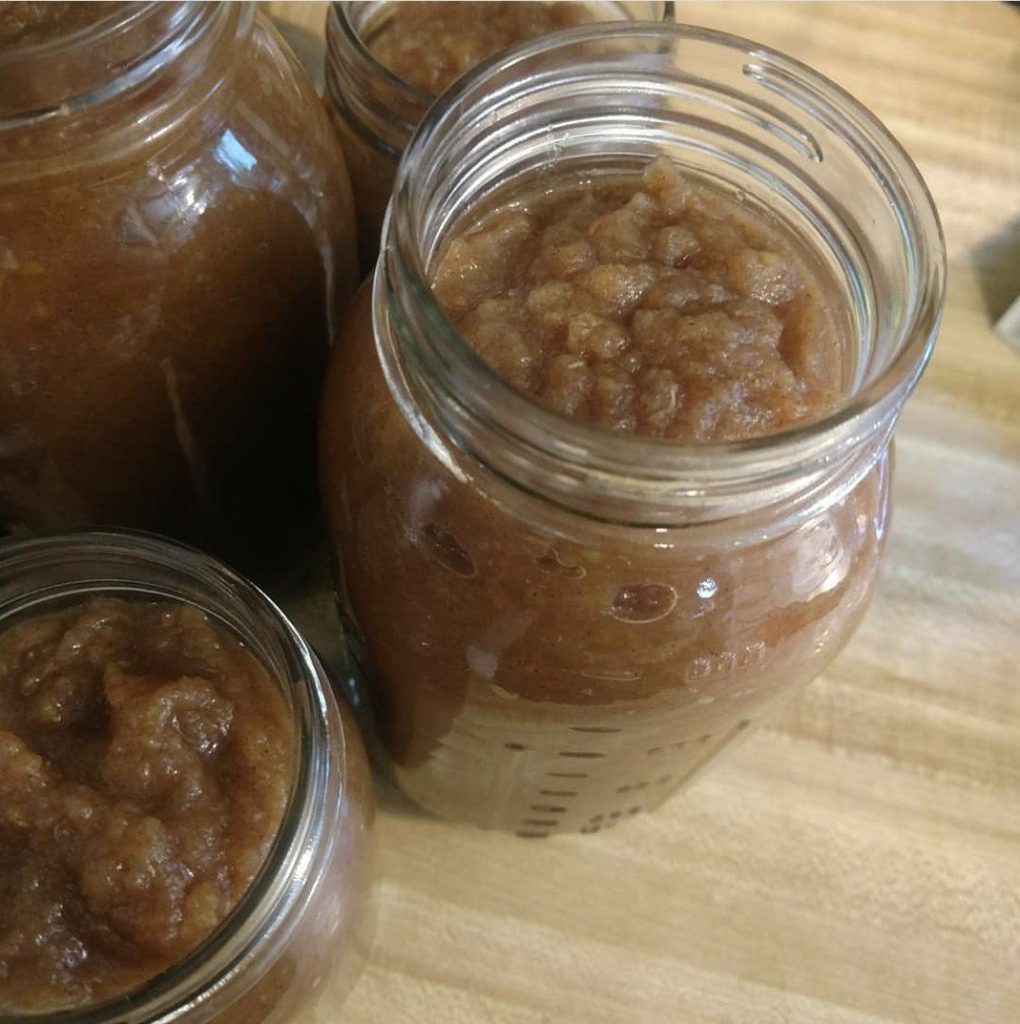
As summer is starting to wind it down I have been thinking of canning some fruits and veggies that are in their prime. This is to save for the Fall and Winter months ahead. This post is going to be more of a list style with a recipe for a simple syrup and one for a pickling solution. A few of our favorite things to can are pickles, asparagus, salsa and green beans along with beets. For fruits we do berries, syrup (which is delicious on these pancakes and waffles), jams and jellies, apples, peaches, pears, fruit butters and applesauce! The recipes in this post will use a water bath canning method which is boiling the jars and then allowing them to seal. If you are just starting out, this is the easiest method.

A few simple warnings:
- Peel your fruit! The skin can harbor bacteria that is harmful.
- Food that is home canned should not be given to a child less than a year old-if there is any bad bacteria at all, they can’t fight it like we are able to – same goes for those Mama’s that are expecting.
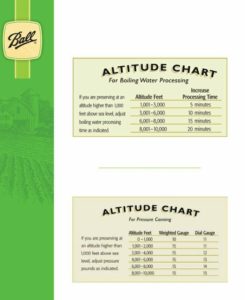
- Make make sure you use the correct processing time according to your elevation.
- Don’t consume foods that have not sealed properly, that are bulging or are damaged in any way.
- Squash, like pumpkin, cannot be safely home canned I have found that it is easier to puree or blanch and freeze it.
Supplies you will need:
- Water bath canner
- Jars with lids
- Jar grabber, lid grabber and funnel
- Plenty of salt and sugar
- Water
- Pickling spice – Ball makes this jar that is great!
- Garlic and dill
- Red pepper flakes (optional)
- Veggies
- Fruit
Pickling Solution (makes 4 quart jars):
- 1 qt white vinegar
- 2 qt water
- 1/2 cup salt
- 1 1/2 tbsp dill
- 1/2 tsp red pepper flakes
- 2 cloves of garlic per qt jar
Alternately if you are using the premade pickling spice for your canning needs, follow the directions on the jar.
Steps for pickling veggies:
- Get the water bath canner ready (fill with water and get it boiling)
- Wash and sterilize your jars. This can be done with warm soapy water. Or a run through the dishwasher. Make sure to wash the lids and rings as well. Fill the jars with hot water and set them aside. This helps keep them ready for the water canner. Place about two cups of water in a saucepan and heat the lids on low heat.
- Wash and trim your veggies! For pickles, make sure to get the gherkins; those are the tiny cucumbers. If there are any blossoms trim them away. You can cut your veggies however you want, or leave them whole!
- Empty the water out of a jar, place your spices and garlic in the bottom. Pack your veggies in tightly.
- Boil water and vinegar then add the salt, stir until dissolved.
- Using the funnel pour the solution into the jars leave about a half inch of head space, but ensure that everything is covered.
- Place lid and ring on. Tighten only slightly, finger tight is my go-to. Place in water bath canner and process. For my elevation which is a little over four thousand feet, it takes about 10 minutes to ensure everything is good and ready. You can find an elevation chart down below!
- Carefully remove the jars with the jar grabber and set them on a level surface to cool and listen for the “POP” which means the jar is sealed. If the jar happens to not seal, no worries, just put it into the fridge once cool, and enjoy the pickles in 5 to 10 days!

Simple syrup for fruits like apples, peaches and pears (makes about 7 qt jars):
For a medium syrup – best for apples, cherries, and berries
- 8 1/4 cup water
- 3 3/4 cup sugar
- 1/3 cup lemon juice
For a heavy syrup – best for peaches, pears and plums
- 7 3/4 cup water
- 5 1/4 cup sugar
- 1/3 cup lemon juice
Steps for canning fruit:
- Get water bath canner ready.
- Washwash and sterilize your jars. This can be done with warm soapy water. Or a run through the dishwasher. Make sure to wash the lids and rings as well. Fill the jars with hot water and set them aside. This helps keep them ready for the water canner. Place about two cups of water in a saucepan and heat the lids on low heat.
- Gather, wash, peel, pit, core and remove seeds from the fruit. Slice or chop then add into jars.
- Make syrup by boiling water and sugar until sugar is fully dissolved.
- Pour over fruit and add a little lemon juice to each jar. This helps keep the fruits color and helps add acidity to the jar.
- Place lid and ring on. Tighten only slightly, finger tight is my go-to. Place and water bath canner and process. For my elevation which is a little over four thousand feet, it takes about 10 minutes to ensure everything is good and ready.
- Process according to your elevation, remove jars carefully and place on level surface to cool and seal.
Most fruits require that you do what is called a hot pack. The hot pack method is essentially cooking the fruit or fruit mixture and placing it into the jars while it is hot. This helps to ensure there isn’t any bad bacteria hanging out.

Next time I will get into canning salsa or maybe even fruit butters! Home canning can seem daunting, but don’t let it scare you away! I usually plan out what to can by what is in season, and then decide if I’m going to make something pickled or preserve some fruit. These are also awesome gifts to give during the holidays!
Be First to Comment